.jpg)
Four years ago I was hired at Blue Hill Country Club, a 27-hole facility that was constructed in 1925. The club was the host of the 1956 PGA Championship and hosted an LPGA event for several years.
After evaluating the property, I realized that there were some significant thatch issues on some of the greens, as well as some very heavy soils 4 inches below the surface. The combination of the two resulted in greens with severe isolated dry spots, inconsistent playing surfaces and poor drainage after high amounts of precipitation.
The first thing we had to do is remove as much thatch as possible, creating some cavities for air and water to move through. That first year we core aerated three times, twice with 5⁄8-inch tines on a 2-inch by 2-inch spacing and a ¼-inch core aerating. We also performed a 5⁄16-inch needle tine three times throughout the season and deep-tined with 10-inch deep ½-inch tines in the fall.
It was a drastic change in aeration than what the members were used to. In the past, they were only allowed to pull cores one to two times per year with varied deep tine in the fall. They relied more on the hydroject to fracture the soil profiles underneath.
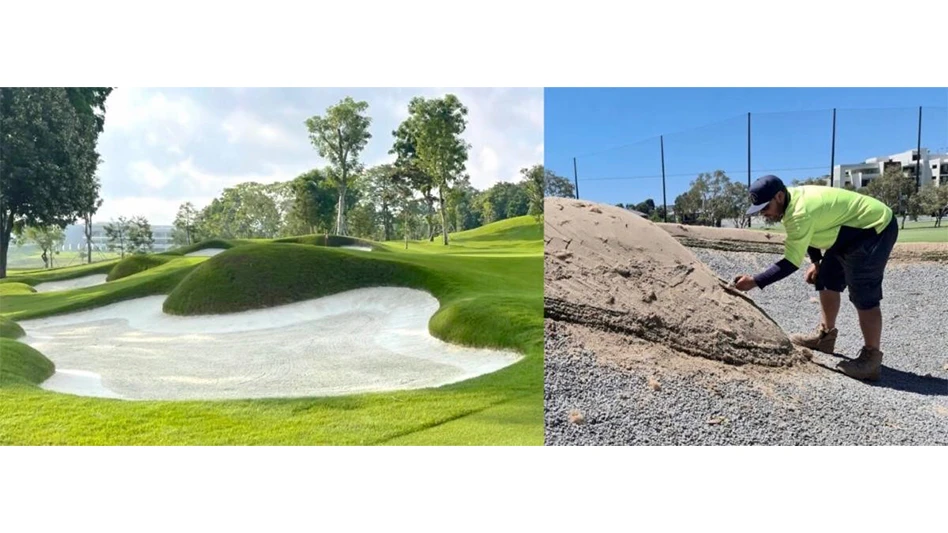
 Jason Adams used photos of the soil profiles throughout the course to convince the greens committee of the importance of draining the greens and incorporating sand into the profiles. Jason Adams used photos of the soil profiles throughout the course to convince the greens committee of the importance of draining the greens and incorporating sand into the profiles. |
After the third year of this program, the top six inches of the soil profile showed dramatic improvement, as well as the playable consistency of the greens. It was now time to attack the deeper depths of the soil profile.
During the early summer of 2009 – with record heat in the northeast and a July rainfall – several greens at Blue Hill CC became severely stressed with no place for the moisture in the root zone to go. The soil profile was saturated with 90- to 100-degree heat. The result was significant annual bluegrass loss on about seven greens on the course. They just couldn’t dry down.
The No. 9 green, which had has been notorious for being a problem green, suffered the worst that summer with a 60 percent loss in turf. The No. 9 is one of those greens that has poor drainage with heavy soils underneath, sits in a pocket on the property and was surrounded by trees.
During my second season, we had removed 20 large pine trees from behind the green and followed that up with removing six large oak trees on the southeast side of the green to encourage the morning sunlight.
Once we had recovered from the summer, it was time to sell the membership on modifying the lower 6 inches of our profiles.
 The first thing I did was to compile a series of photos of the soil profiles from every green on the golf course. The photos were put into a PowerPoint presentation along with “drill-and-fill” photos from Norfolk Golf Club, my previous club. I described the importance of draining the greens and the incorporation of sand into the profiles.
It was decided by the green committee and the board of directors that this was an important step in the conditioning of Blue Hill Country Club. That fall we performed the drill-and-fill process on 10 of the 18 greens on the course.
The results this summer from our “problem greens” were dramatic. The greens rooted and drained better than they ever had in the four seasons I have served as superintendent of Blue Hill Country Club. It was decided that we would continue this process on all 19 greens on the main course for the next four seasons.
This fall we completed our second application of drill-and-fill on the greens. Approximately 40 tons of sand was drilled into 8,500 square feet of greens. We hired an outside company to perform the process, which cost the club $8,500. Blue Hill then provided the labor to keep the machine hoppers filled during the process.
This process is very labor-intensive because of the loading process and the height of the hoppers. It is also imperative that kiln-dried sand be used during the process for easy flow through the machines. We had a staff of 20 guys who all took turns loading 5-gallon buckets of sand, hauling them to the machines, loading carts and stationed on the machines filling the hoppers.
 While it doesn’t sound like a difficult or taxing process to complete, after about the fourth or fifth green everyone’s shoulders and biceps start to get a little sore. That’s where you tag out and perform another duty for a while.
After each green is completed, we push off the remainder of sand and soil that is left behind, the greens are dragged with a broom and then blown off. The greens come out pretty clean and smooth after all is said and done.
Our PGA Golf Professional, Lou Katsos, played the following day and was surprised how well the greens rolled. Lou has been a huge part of the success in all of our practices by relaying the importance of what we are trying to accomplish to the members.
The positives of this process are that we are starting to modify the soils in the old push-up greens so they can perform up to the members’ expectations and have a fighting chance with Mother Nature. The negatives are that it is an expensive process – about $17,000 if you use bagged, dried sand. In addition, you have to have a lot of labor to complete the process efficiently.
Moving forward we will begin to incorporate the process of the dryject. This process will also help to introduce sand a deeper depths and fracture the lower levels almost helping to “mix” the soil profiles.
Jason Adams is superintendent at Blue Hill Country Club, Canton, Mass.

Explore the February 2012 Issue
Check out more from this issue and find your next story to read.
Latest from Golf Course Industry
- Toro continues support of National Mayor’s Challenge for Water Conservation
- A different kind of long distance
- Golf Construction Conversations: Stephen Hope
- EnP welcomes new sales manager
- DLF opening centers in Oregon, Ontario
- Buffalo Turbine unveils battery-powered debris blower
- Beyond the Page 66: Keep looking up
- SePRO hires new technical specialist